Build your first schema
By the end of this tutorial you will have a working schema for network devices and interfaces, covering nodes, attributes, relationships, and generic abstractions. You'll load each version into a branch and verify the results.
This tutorial uses a network device example to demonstrate key schema concepts. Real-world schemas involve additional complexity, but the patterns here apply broadly.
For conceptual background on schemas and design patterns, see About schema.
Prerequisites
- Infrahub running locally or in your environment
infrahubctlcommand-line tool installed- Basic understanding of YAML syntax
Enable schema validation in your editor to catch errors while developing schema files.
Alternative learning resources
Hands-on lab
Try the interactive Infrahub Schema Introduction lab for hands-on practice with schemas.
Video tutorials
Learn advanced schema concepts in this livestream recording:
Step 1: Create basic nodes with attributes
Create a file named schema_guide.yml in a location you can access easily, such as /tmp/schema_guide.yml.
Start by defining two basic nodes in the Network namespace:
Device: Represents network devices with hostname and model attributesInterface: Represents network interfaces with name and description attributes
---
version: "1.0"
nodes:
  - name: Device
    namespace: Network
    human_friendly_id: ['hostname__value']
    attributes:
      - name: hostname
        kind: Text
        unique: true
      - name: model
        kind: Text
  - name: Interface
    namespace: Network
    attributes:
      - name: name
        kind: Text
      - name: description
        kind: Text
        optional: true
The human_friendly_id on the hostname attribute lets you use the hostname value instead of the system-generated ID in queries and mutations.
Load the schema into Infrahub
Create a new branch for your schema changes:
infrahubctl branch create network-device-schema
Load the schema into the branch:
infrahubctl schema load --branch network-device-schema /tmp/schema_guide.yml
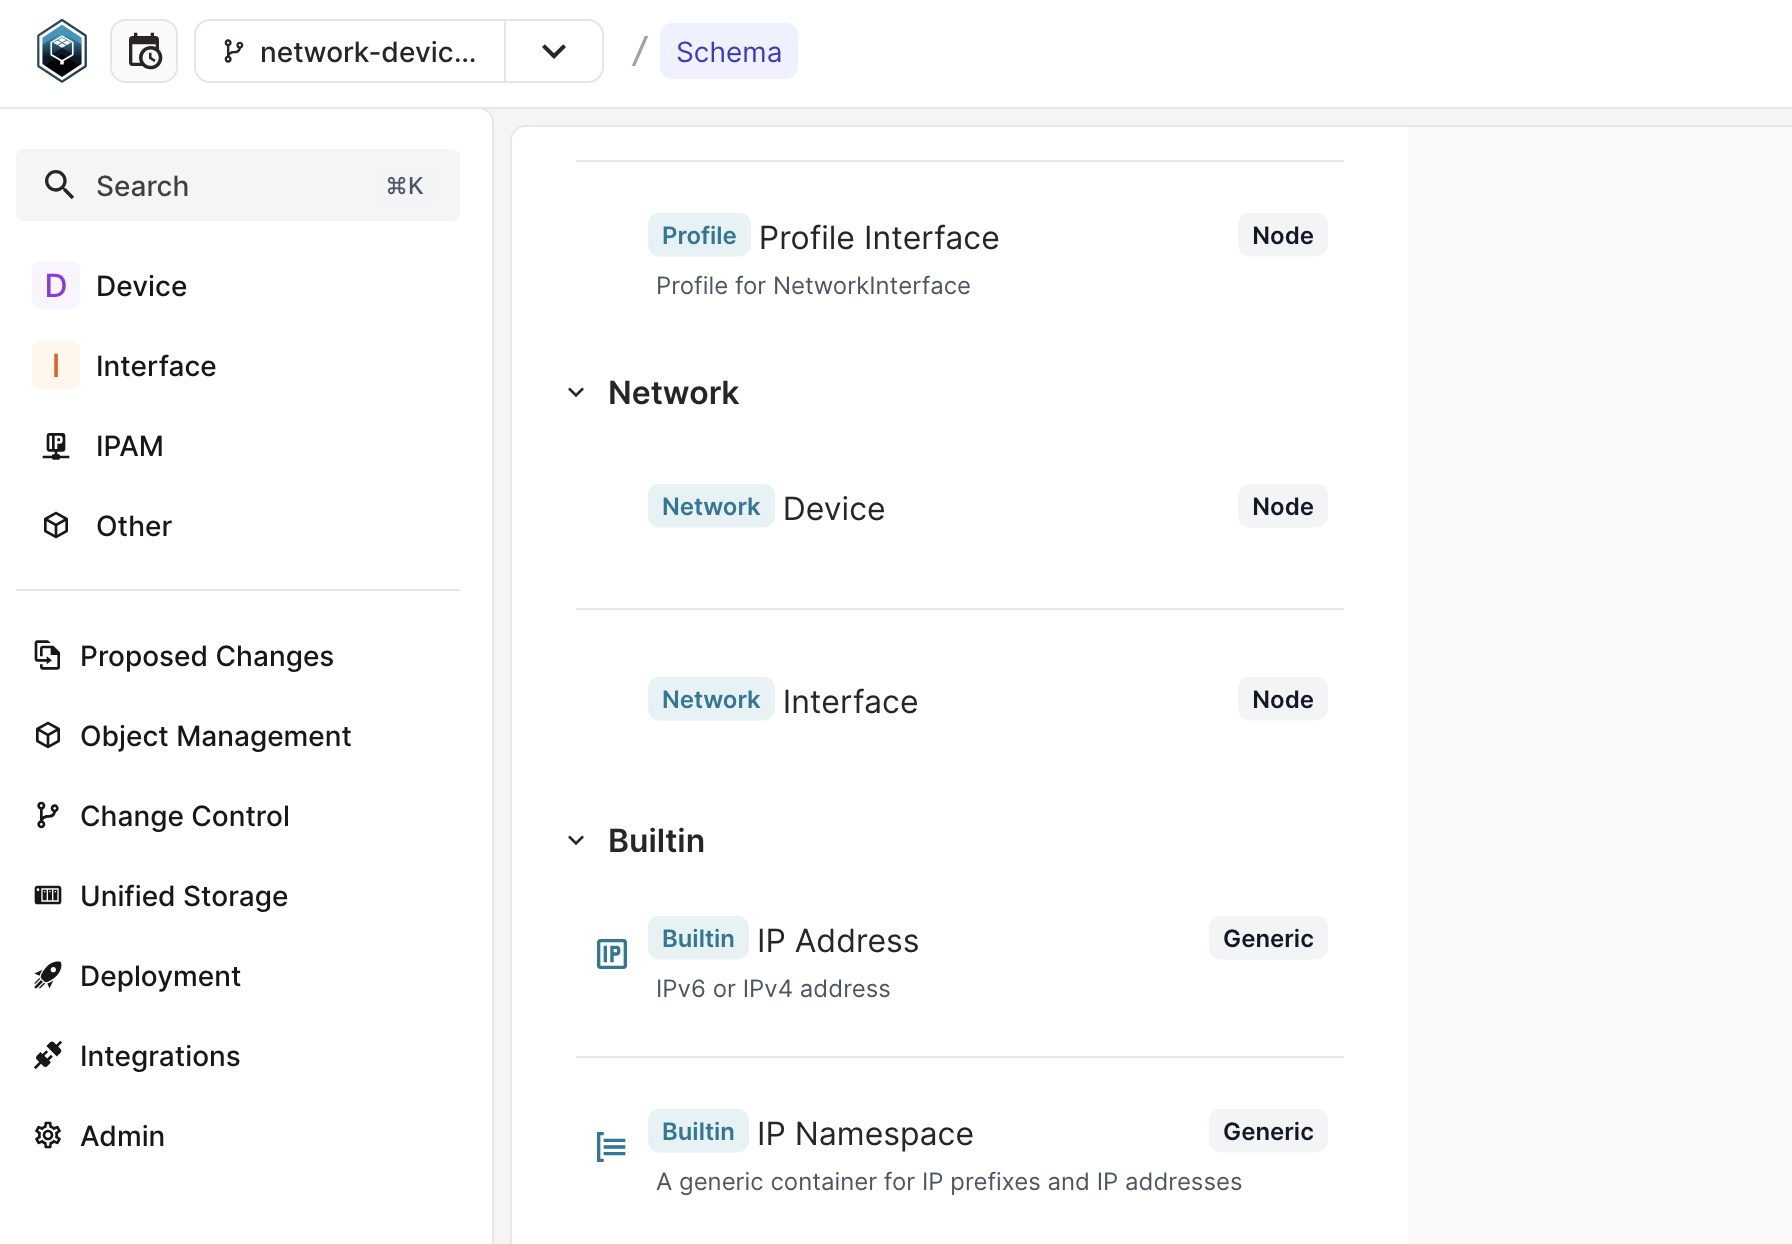
View your schema in the Web UI under Object Management > Schemas.
Create test data
Test your schema by creating a device and interface:
- GraphQL
- Web interface
- cURL
Open the GraphQL sandbox (bottom left of the web interface) and execute:
mutation {
  NetworkDeviceCreate(data: {hostname: {value: "atl1-edge1"}, model: {value: "Cisco ASR1002-HX"}}) {
    ok
    object {
      id
    }
  }
  NetworkInterfaceCreate(data: {name: {value: "Ethernet1"}, description: {value: "WAN interface"}}) {
    ok
    object {
      id
    }
  }
}
- Navigate to Objects > Device in the left menu
- Click Add Device
- Enter
atl1-edge1as Hostname andCisco ASR1002-HXas Model - Click Save
- Navigate to Objects > Interface
- Create an interface with
Ethernet1as Name andWAN interfaceas Description
Replace the IP address and API key with your actual values:
curl -X POST http://localhost:8000/graphql/network-device-schema \
  -H "Content-Type: application/json" \
  -H "X-INFRAHUB-KEY: 1802eed5-eeb7-cc45-2e4d-c51de9d66cba" \
  -d '{"query": "mutation { NetworkDeviceCreate(data: {hostname: {value: \"atl1-edge1\"}, model: {value: \"Cisco ASR1002-HX\"}}) { ok object { id } } NetworkInterfaceCreate(data: {name: {value: \"Ethernet1\"}, description: {value: \"WAN interface\"}}) { ok object { id } } }"}'
Verify your objects were created by navigating to Objects and selecting Device or Interface.
Step 2: Add relationships between nodes
Connect your device and interface nodes with relationships. This creates meaningful associations between your data.
Add these relationships to your schema:
- Device to interfaces: One device can have many interfaces (component relationship)
- Interface to device: Each interface belongs to one device (parent relationship)
Replace your schema_guide.yml content with:
---
version: "1.0"
nodes:
  - name: Device
    namespace: Network
    human_friendly_id: ['hostname__value']
    attributes:
      - name: hostname
        kind: Text
        unique: true
      - name: model
        kind: Text
    relationships:
      - name: interfaces
        cardinality: many
        peer: NetworkInterface
        kind: Component
  - name: Interface
    namespace: Network
    attributes:
      - name: name
        kind: Text
      - name: description
        kind: Text
        optional: true
    relationships:
      - name: device
        cardinality: one
        peer: NetworkDevice
        optional: false
        kind: Parent
Load the updated schema
Create a new branch for the relationship changes:
infrahubctl branch create network-device-relations
Load the updated schema:
infrahubctl schema load --branch network-device-relations /tmp/schema_guide.yml
Test the relationships
Create connected objects using this GraphQL mutation:
mutation {
  NetworkDeviceCreate(data: {hostname: {value: "atl1-edge1"}, model: {value: "Cisco ASR1002-HX"}}) {
    ok
    object {
      id
    }
  }
  NetworkInterfaceCreate(data: {name: {value: "Ethernet1"}, description: {value: "WAN interface"}, device: {hfid: "atl1-edge1"}}) {
    ok
    object {
      id
    }
  }
}
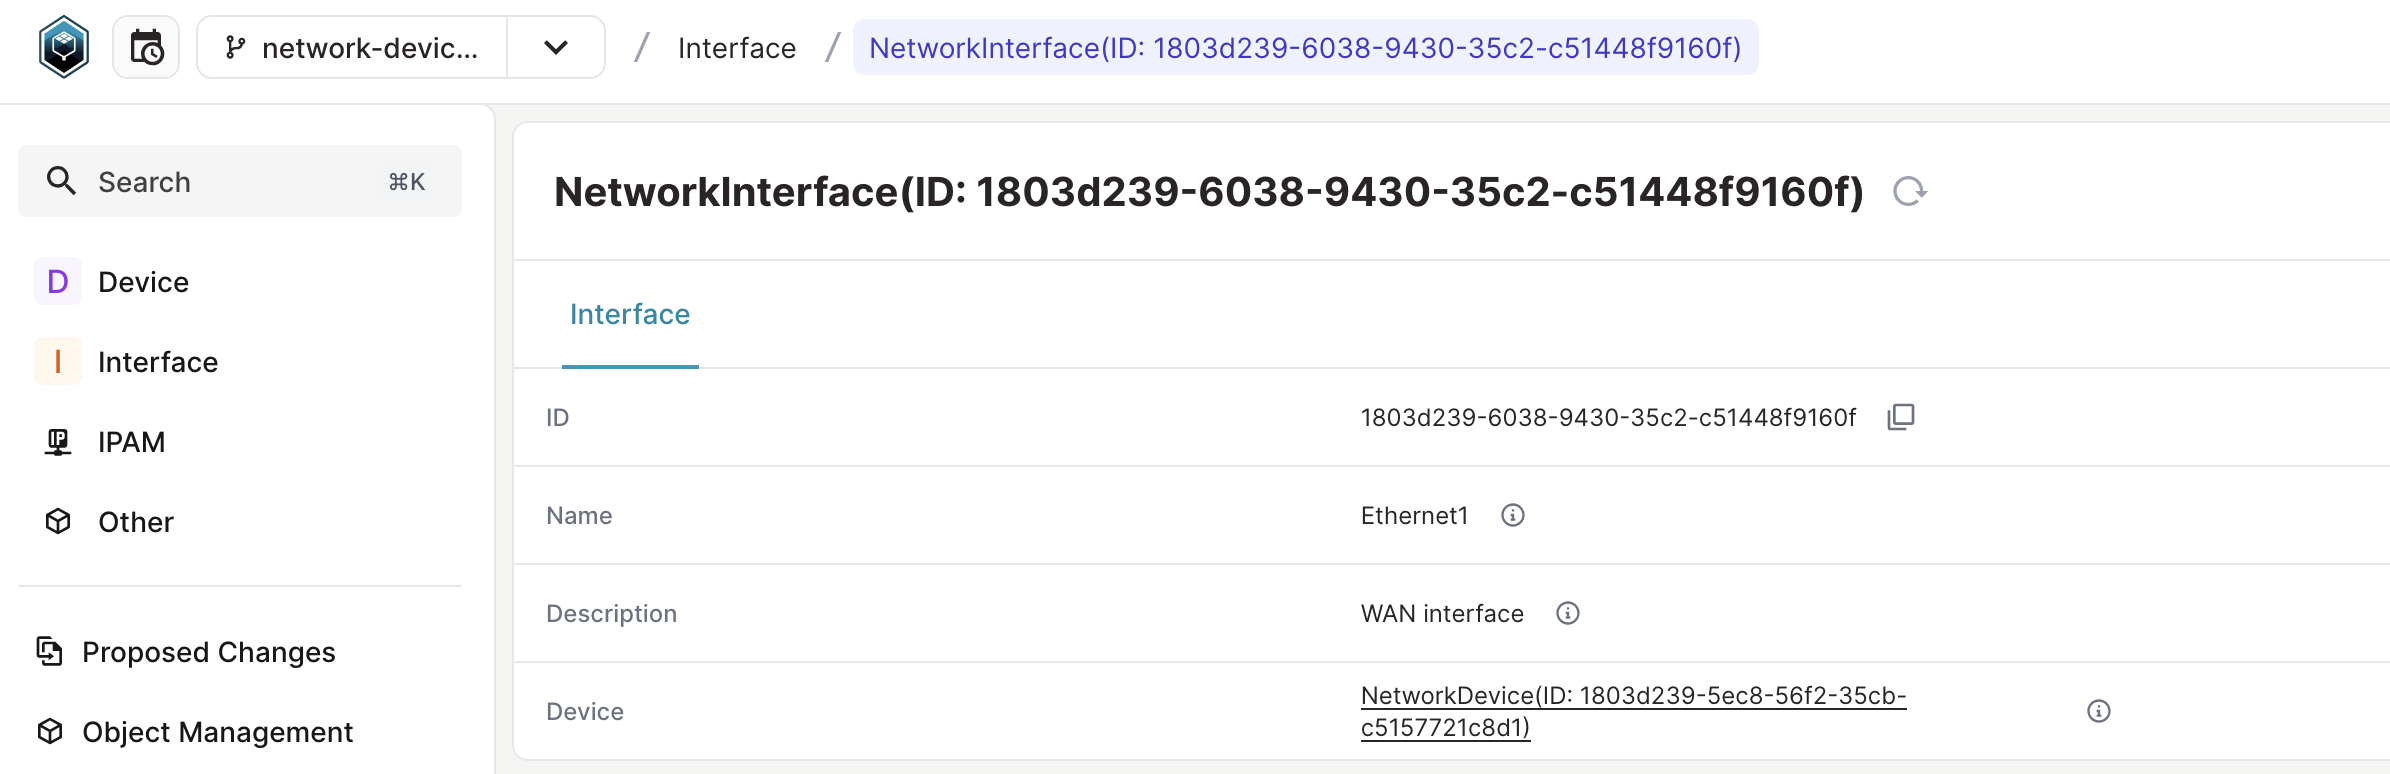
In the Web UI, view the device details to see the relationship to the Ethernet1 interface.
Step 3: Create generic nodes for abstraction
Real network devices have different interface types with shared and unique characteristics. Use generic nodes to model this abstraction.
Physical interfaces (like Ethernet1) have properties like speed and cable connections. Logical interfaces (like Vlan1) don't have these physical properties but share common attributes like name and description.
Create a generic interface
Replace your schema with this structure using generics:
---
version: "1.0"
generics:
  - name: Interface
    namespace: Network
    attributes:
      - name: name
        kind: Text
      - name: description
        kind: Text
        optional: true
    relationships:
      - name: device
        cardinality: one
        peer: NetworkDevice
        kind: Parent
        optional: false
nodes:
  - name: Device
    namespace: Network
    human_friendly_id: ['hostname__value']
    attributes:
      - name: hostname
        kind: Text
        unique: true
      - name: model
        kind: Text
    relationships:
      - name: interfaces
        cardinality: many
        peer: NetworkInterface
        kind: Component
  - name: PhysicalInterface
    namespace: Network
    inherit_from:
      - NetworkInterface
    attributes:
      - name: speed
        kind: Number
  - name: LogicalInterface
    namespace: Network
    inherit_from:
      - NetworkInterface
Load the generic schema
Create a new branch for generic changes:
infrahubctl branch create network-device-generics
Load the schema:
infrahubctl schema load --branch network-device-generics /tmp/schema_guide.yml
Test different interface types
Create both physical and logical interfaces:
mutation {
  NetworkDeviceCreate(data: {hostname: {value: "atl1-edge1"}, model: {value: "Cisco ASR1002-HX"}}) {
    ok
    object {
      id
    }
  }
  NetworkPhysicalInterfaceCreate(data: {name: {value: "Ethernet1"}, description: {value: "WAN interface"}, speed: {value: 1000000000}, device: {hfid: "atl1-edge1"}}) {
    ok
    object {
      id
    }
  }
  NetworkLogicalInterfaceCreate(data: {name: {value: "Vlan1"}, description: {value: "SVI for VLAN 1"}, device: {hfid: "atl1-edge1"}}) {
    ok
    object {
      id
    }
  }
}
View the device in the Web UI to see both interface types connected to the same device.

Step 4: Improve the schema with migrations
Refine your schema using Infrahub's schema migration features. These changes demonstrate how to evolve schemas while preserving existing data.
Make these improvements:
- Add
mtuandenabledattributes to the genericNetworkInterface - Remove the
descriptionattribute from the genericNetworkInterface - Set a default value for the
speedattribute ofNetworkPhysicalInterface - Rename the
modelattribute todevice_type - Add labels for better user experience
- Define uniqueness constraints
Get the attribute ID for migration
To rename an attribute, you need its current ID. Find the model attribute ID on the NetworkDevice schema page in the Web UI.
Replace your schema content (update the id value with the actual model attribute ID):
---
version: "1.0"
generics:
  - name: Interface
    namespace: Network
    attributes:
      - name: name
        kind: Text
        label: Name
      - name: description
        state: absent
        kind: Text
        optional: true
        label: Description
      - name: mtu
        kind: Number
        label: MTU
        optional: false
        default_value: 1500
      - name: enabled
        label: Enabled
        kind: Boolean
        optional: false
        default_value: false
    relationships:
      - name: device
        label: Device
        cardinality: one
        peer: NetworkDevice
        kind: Parent
        optional: false
nodes:
  - name: Device
    namespace: Network
    human_friendly_id: ['hostname__value']
    attributes:
      - name: hostname
        kind: Text
        label: Hostname
        unique: true
      - name: device_type
        label: Device Type
        kind: Text
        id: 17bcf8a7-9c03-4a6a-3295-c51345cb1c33
    relationships:
      - name: interfaces
        label: Interfaces
        cardinality: many
        peer: NetworkInterface
        kind: Component
  - name: PhysicalInterface
    namespace: Network
    uniqueness_constraints:
      - ["device", "name__value"]
    inherit_from:
      - NetworkInterface
    attributes:
      - name: speed
        label: Speed (bps)
        kind: Number
        default_value: 1000000000
  - name: LogicalInterface
    namespace: Network
    uniqueness_constraints:
      - ["device", "name__value"]
    inherit_from:
      - NetworkInterface
Preview schema changes
Use the check command to see what changes will be applied:
infrahubctl schema check --branch network-device-generics /tmp/schema_guide.yml
This shows a diff of changes before applying them.
Apply the migration
Load the improved schema:
infrahubctl schema load --branch network-device-generics /tmp/schema_guide.yml
Infrahub automatically migrates existing data to match the new schema structure. View the updated schema in the Web UI.
Next steps
Now that you've created a basic schema:
- Learn about schema validation for development workflows
- Explore Nodes & attributes for advanced concepts
- Explore Relationships for relationship kinds and direction
- Learn how to create and load schema files from existing sources
- Set up external repositories to manage schemas with Git