First Steps
Welcome to Emma! This guide will walk you through your first experience using Emma to interact with Infrahub.
Opening Emma
- Navigate to Emma at
http://localhost:8501(or your configured port) - Verify connection - Emma should show a connection status to your Infrahub instance
- Select a branch - Choose which Infrahub branch to work with (usually
main)
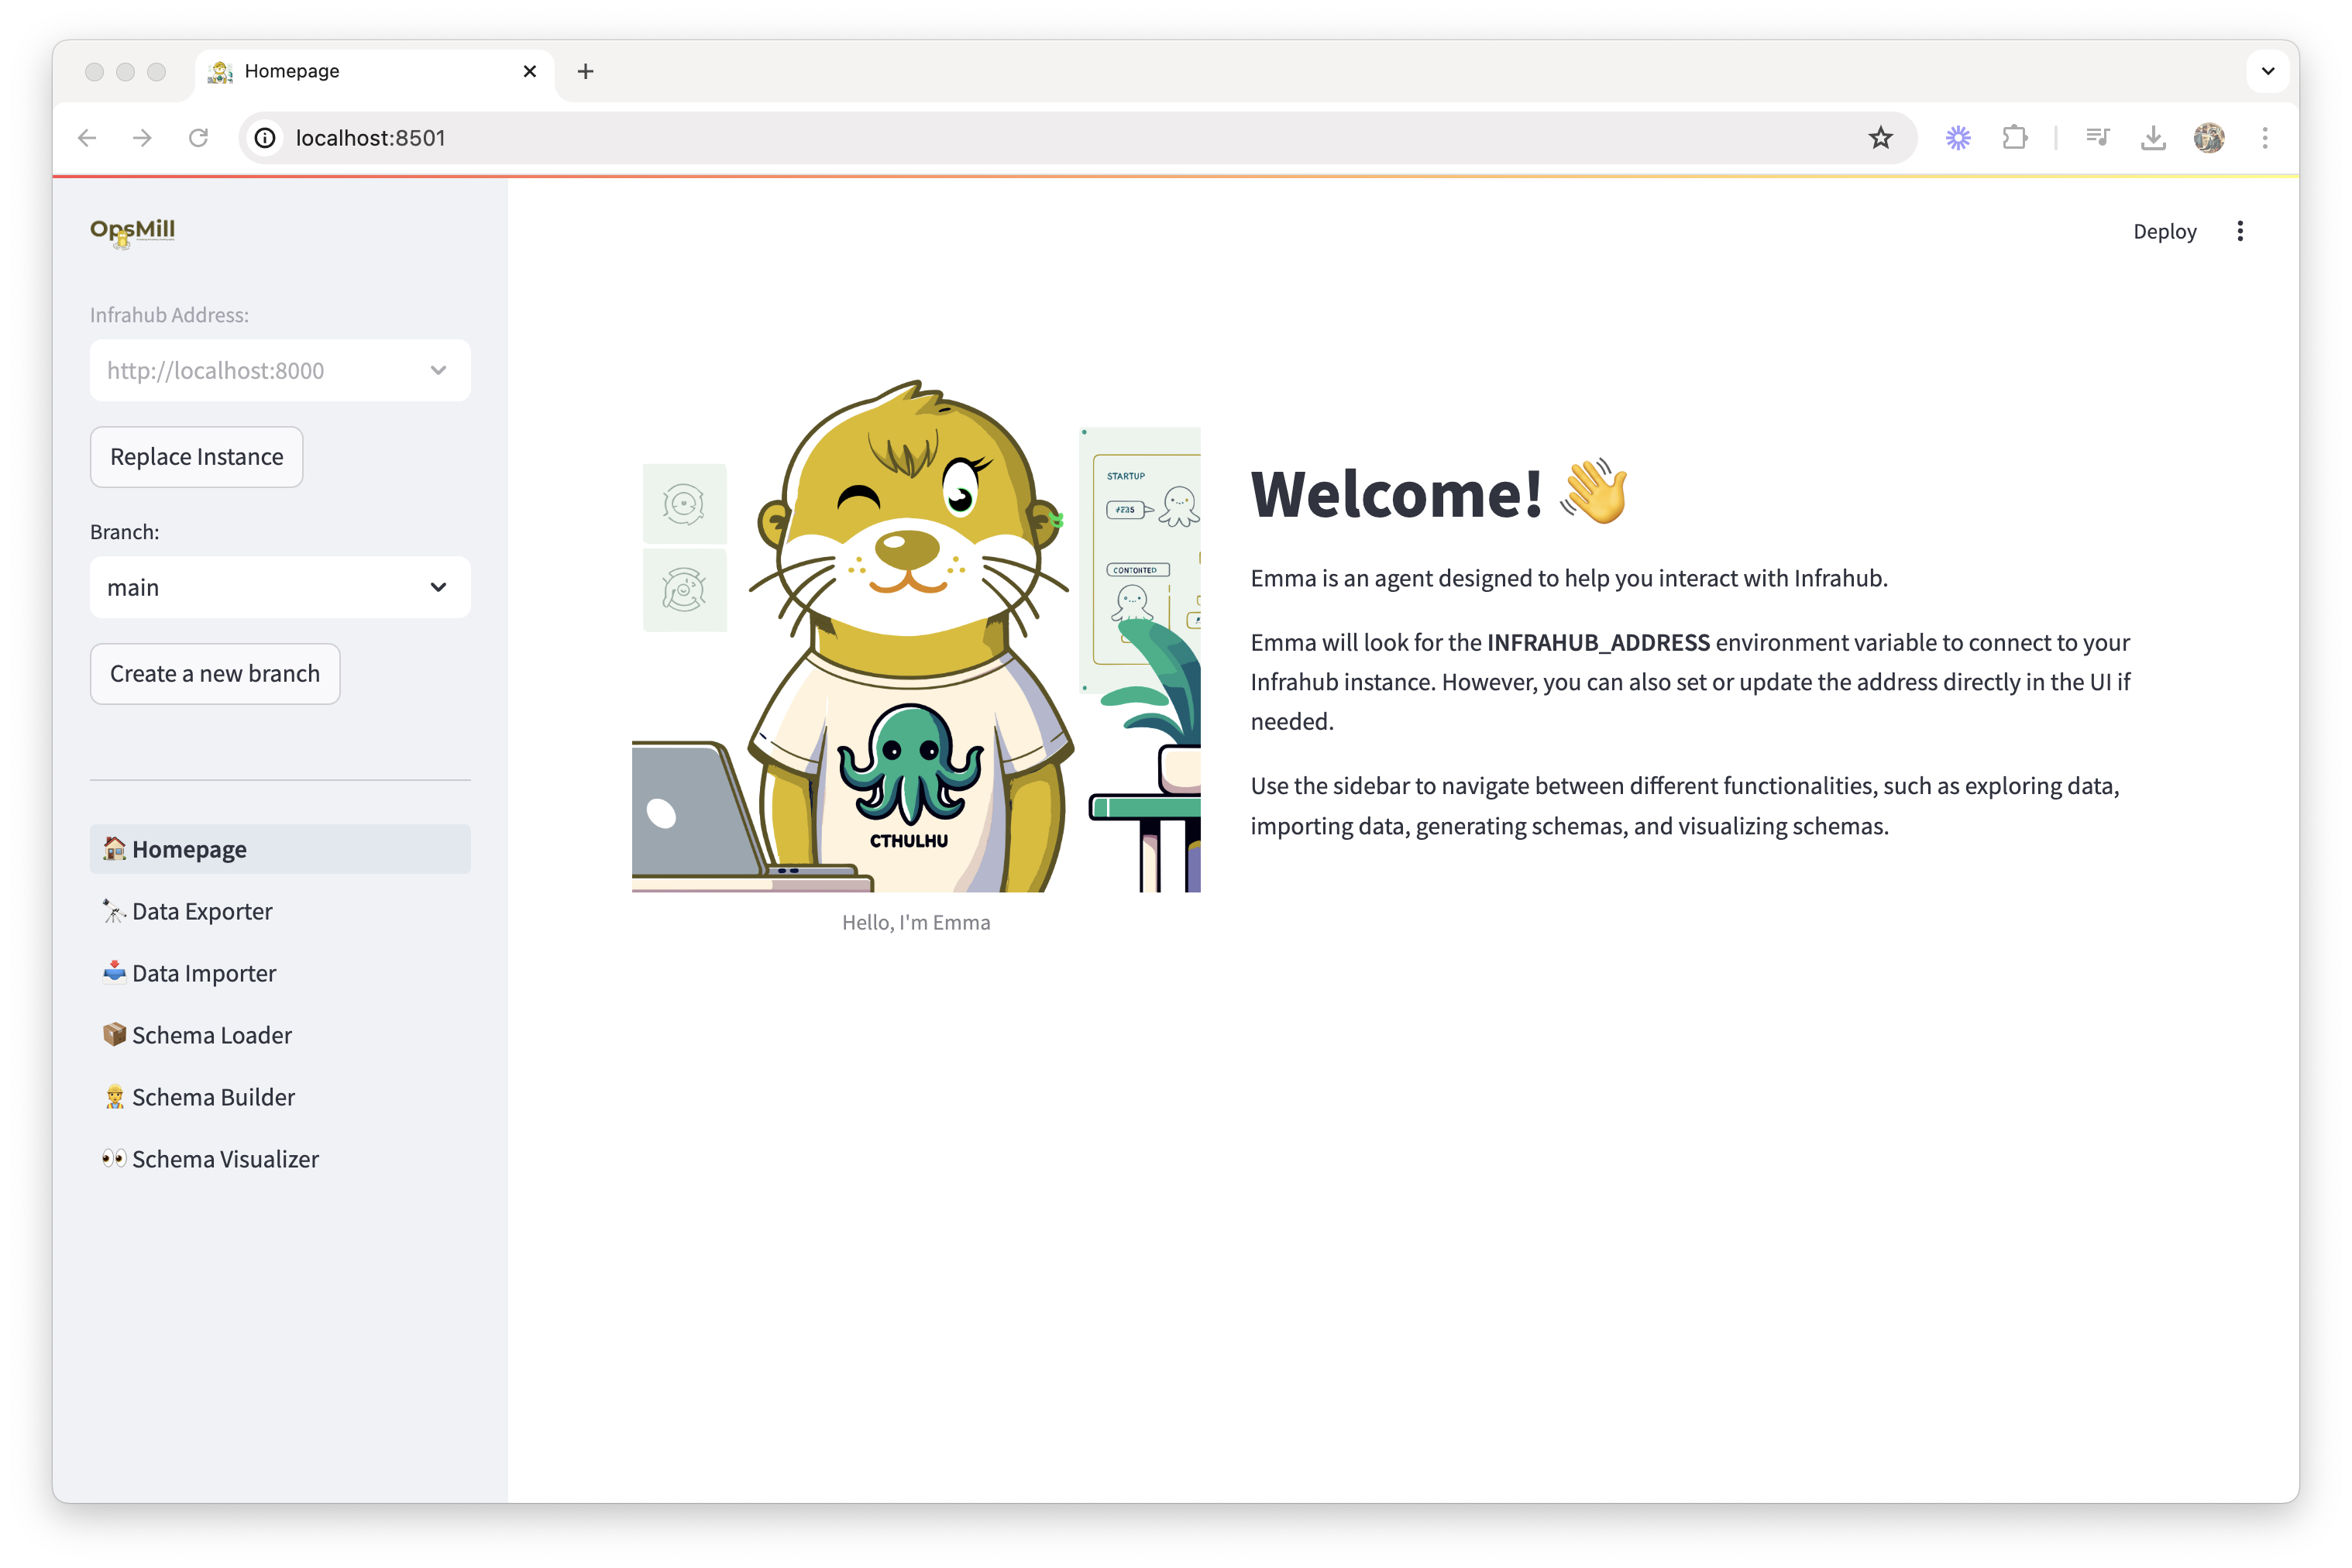
Understanding Emma's interface
Emma is organized into several key areas accessible from the sidebar:
Core features
- 🏗️ Schema Builder - AI-powered schema creation and editing
- 📁 Schema Library - Browse and use pre-built schema templates
- 🔄 Schema Loader - Load schemas into your Infrahub instance
- 👁️ Schema Visualizer - Visual representation of your schemas
- 📥 Data Importer - Import CSV data into Infrahub
- 📤 Data Exporter - Export Infrahub data to CSV
Experimental features
- 🔍 Query Builder - Build GraphQL queries (feature flag required)
- 📋 Template Builder - Create templates (feature flag required)
Your first task: explore the schema library
Let's start by exploring Emma's schema library:
- Click "Schema Library" in the sidebar
- Browse available schemas - You'll see categories like Base, Extensions, and Experimental
- Select a schema to view its details, such as the "Device" schema from Base/DCIM
- Review the schema structure - Notice how it defines attributes, relationships, and inheritance
This gives you an understanding of how Infrahub schemas are structured.
Load your first schema
Next, let's load a schema into Infrahub:
- Navigate to "Schema Loader"
- Select schemas from the library (start with Base schemas like Organization and Location)
- Preview the schema to understand what will be loaded
- Click "Load Schema" to add it to your Infrahub instance
tip
Start with foundational schemas like Organization and Location before adding more complex schemas that depend on them.
Visualize your schema
After loading schemas:
- Go to "Schema Visualizer"
- View the graphical representation of your schema relationships
- Explore connections between different schema objects
- Use filters to focus on specific schema types or relationships
Import sample data
To see Emma in action with real data:
- Prepare a CSV file with data matching your schema structure
- Navigate to "Data Importer"
- Upload your CSV and map columns to schema attributes
- Preview the import to verify mappings are correct
- Execute the import to add data to Infrahub
Key concepts to understand
Schemas vs data
- Schemas define the structure and relationships of your infrastructure models
- Data is the actual instances that follow those schemas (specific devices, locations, etc.)
Branches
- Emma works with Infrahub branches, similar to Git branches
- Changes can be made in development branches before merging to main
- Always be aware of which branch you're working in
AI integration
- Emma's Schema Builder uses AI to help create schemas from natural language
- The AI understands infrastructure concepts and can suggest appropriate attributes and relationships
- Review AI-generated schemas carefully before using them in production
Next steps
Now that you've completed your first steps:
- Explore Features - Learn about each feature in detail in the Features section
- Follow Guides - Try the step-by-step guides for common tasks
- Build Your Own - Start creating schemas and importing data for your infrastructure
Getting help
If you encounter issues:
- Check the Troubleshooting Guide
- Review feature-specific documentation in the Features section
- Remember that Emma is experimental - some features may not work as expected
Emma is designed to make working with Infrahub more accessible and efficient. Take your time to explore each feature and don't hesitate to experiment!